No products in the cart.
Design Proof Review Checklist
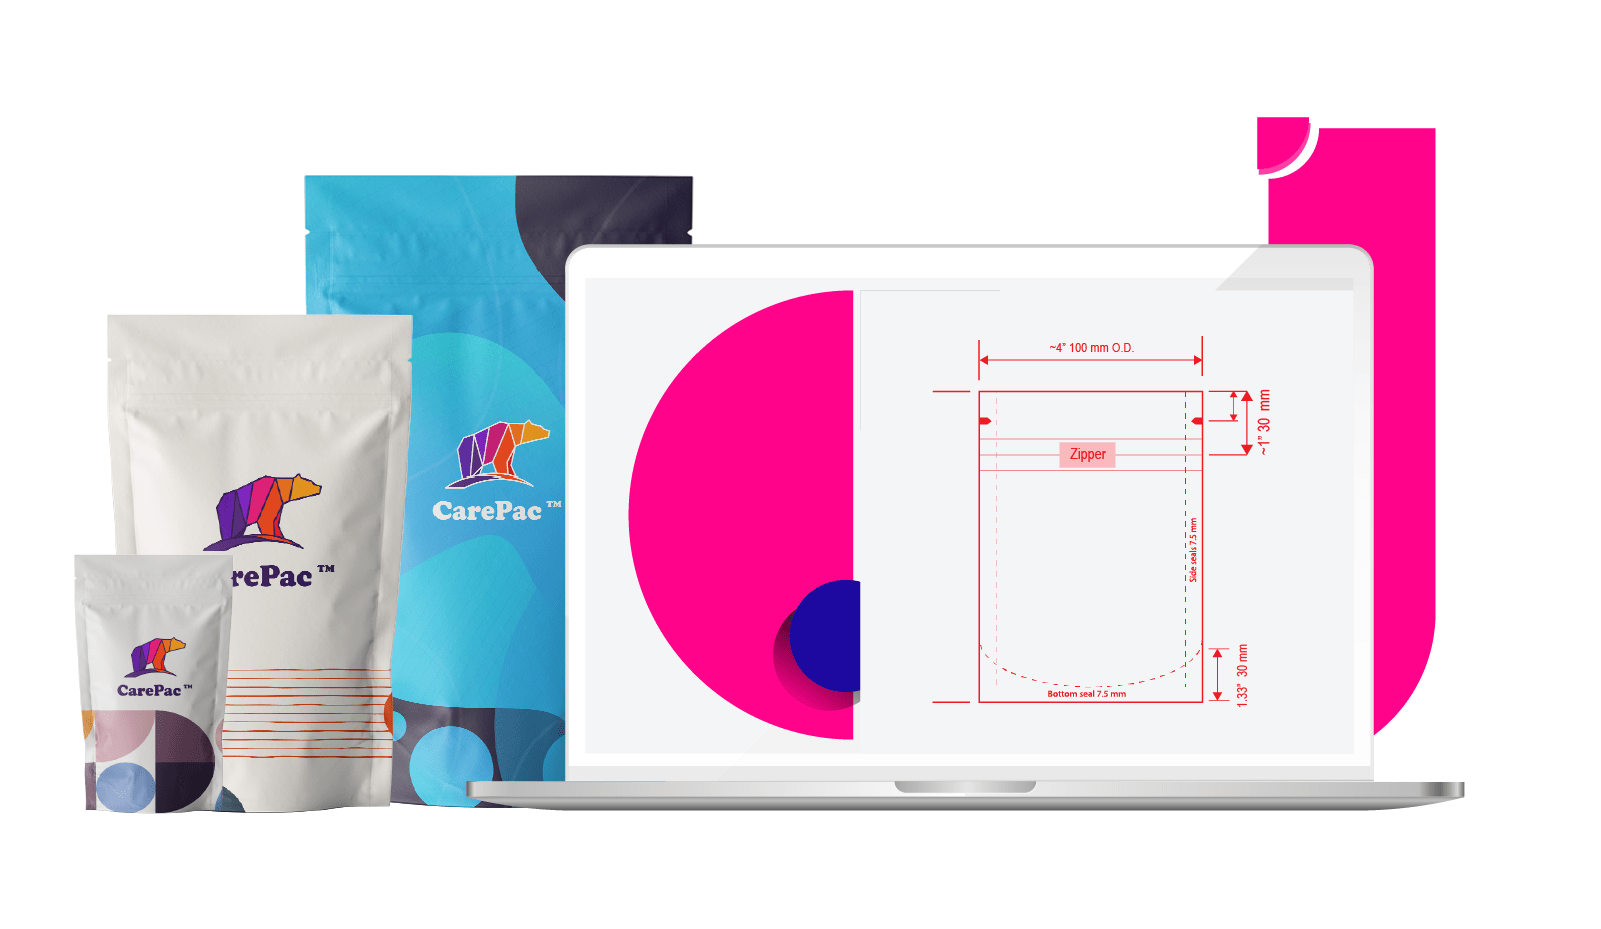

Your design proof, also called a dieline, or Master art proof. Is a to scale schematic of your pouch. The design proof shows you all the elements which are expected to be present on the finished pouch. Reviewing your design file in detail is very important because once you sign it, you're telling us to make the pouch based on the design. If you later find a mistake, like a spelling mistake, it could be too late to change, or could incur costs to you. In this article we'll cover some of the most important steps you should take when reviewing your proof. We also offer a complementary design proof review check list which you can download below.


First things first: Check your Pouch Size

Since your design proof is to-scale, the dimensions listed on the proof will be the finished size of the bag. The biggest mistake customers make is not checking that they size of bag they are ordering will actually fit their product. The best way to confirm sizing is to take whatever bag you're basing
What if I don't have a bag to base sizing from?
The best advice would be to review the samples that we sent you to confirm if any of those work. If you're not working from a sample we sent, then we suggest going to a big box retailer and purchasing pouches that you think might fit your product, then testing it out.
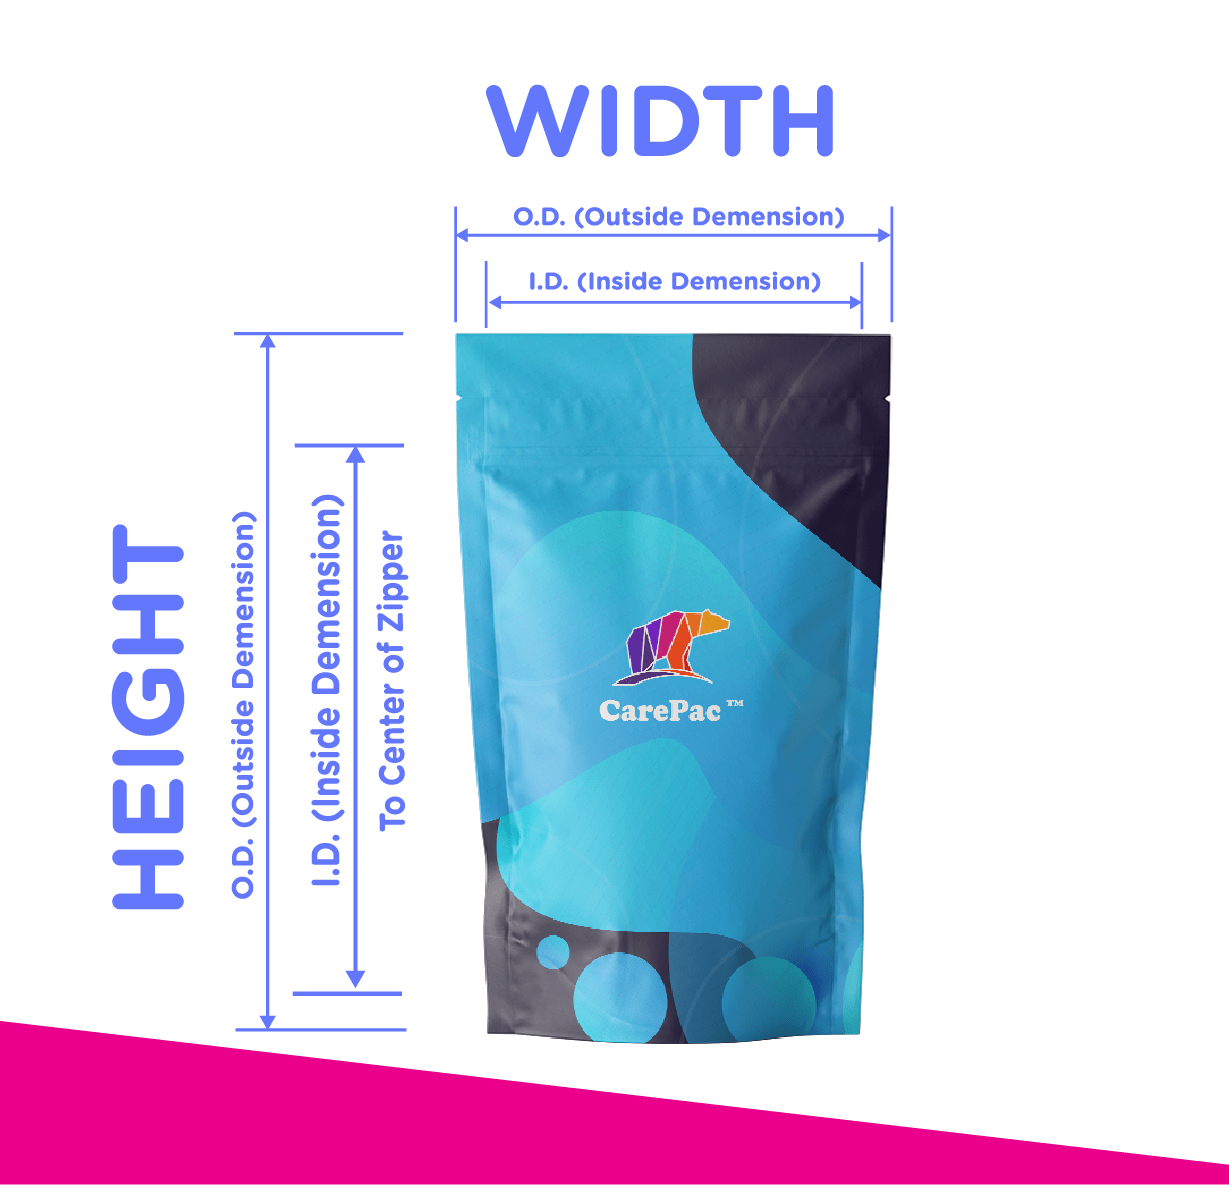
Make sure you're not confusing O.D. size and I.D. size.
O.D. is outside diameter, and refers to the size of the pouch edge to edge with no additional material existing beyond that size. I.D. is inside diameter and refers to the interior usable space. The I.D. will vary depending on the size of your bag seals, position of the zipper or other closure and whether your pouch is a stand up pouch or a flat pouch. This is why it's critical to have reviewed and confirmed your sizing before proceeding.
Spelling and Grammar


It might seem obvious, but every day a customer will catch a spelling or grammar mistake that they didn't notice previously. While these mistakes may not always be the end of the world, they project a unprofessional appearance so, it's best to have two or three people read over the pouch, preferably people who didn't write the content. This is because our minds will often fill in words to our own writing without us even noticing. But these mistakes will stand out to a reader who is unfamiliar with the content.
Material Type & Design
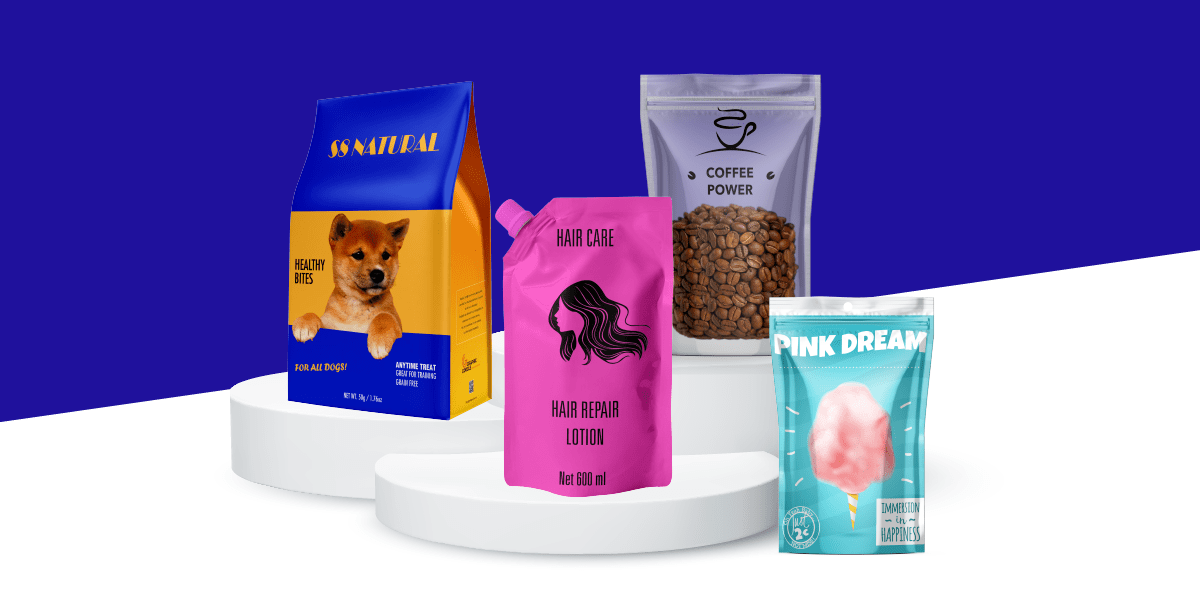

During your proofing you'll want to confirm the type of material your pouch is made from. The material of your pouch is listed on your sales order which accompanies your proof. One problem that occurs is during the development process, customers often switch between materials as they decide what is best for their pouch.
Bag Configuration
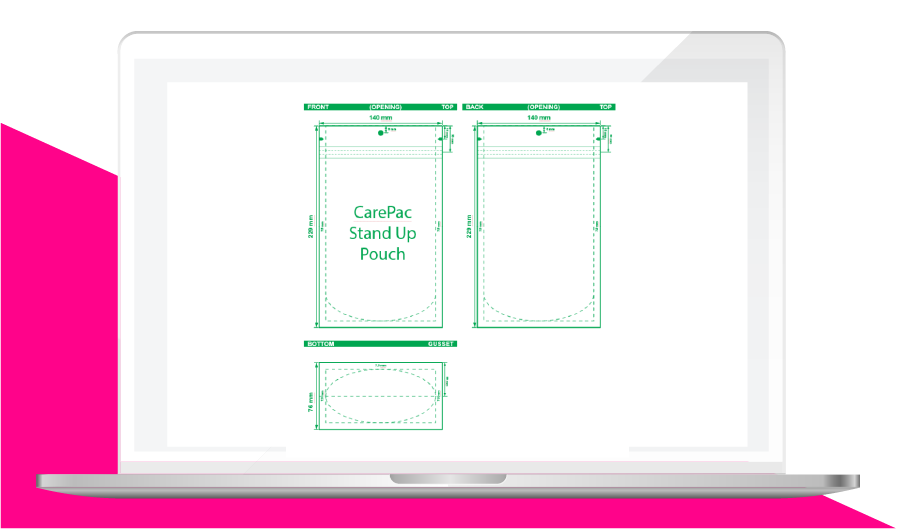
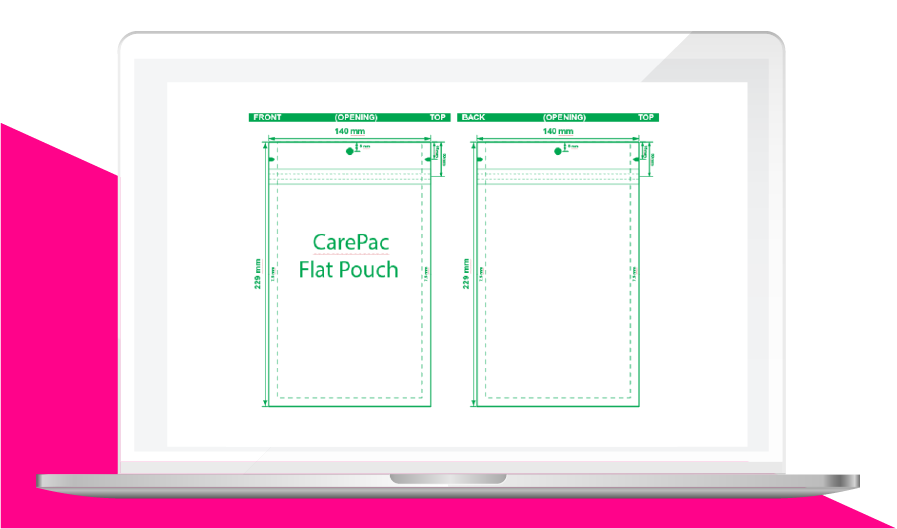
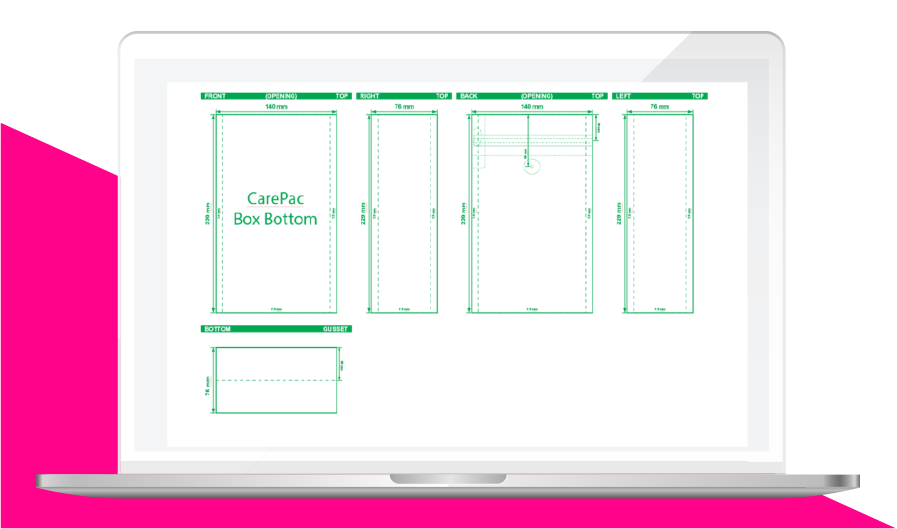
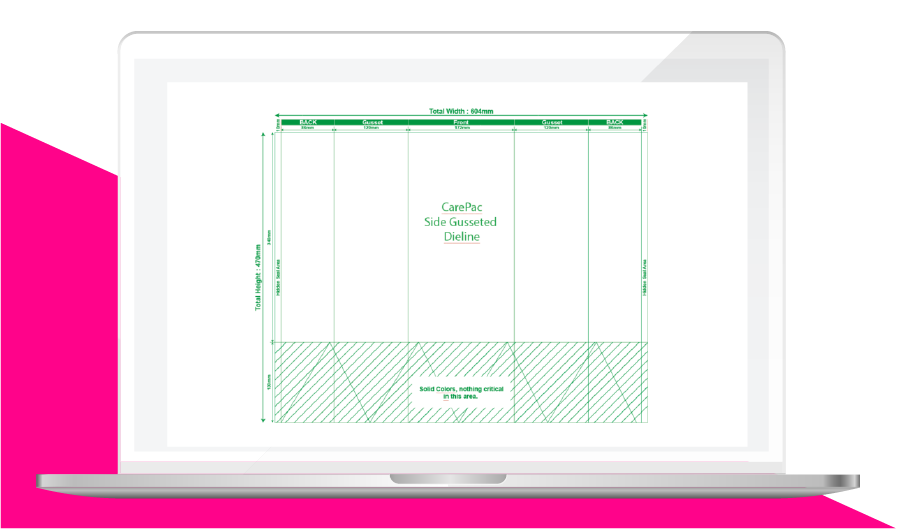
Now is the time to confirm that the pouch you're ordering is the proper configuration that you want. The digital design proof will show all the sides of the pouch, so if you don't see a gusset, then your pouches doesn't have one. In the diagrams below we're showing you what some of the most common pouch configuration design schematics look like.
Gusseted Pouch

Lay Flat Pouch

Box Bottom Pouch

Side Gusseted

Print/Proofing Review
When reviewing the print on your pouch there are several items to specifically take time and double check: Bag Finish, Colors, Barcodes and QR Codes, brand trademark usages, Nutritional and compliance information, and where the folds are.
Colors


The colors being used on your design will be listed on your design proof. Each design proof includes a color bar which designates each color which is being used in the design. There are some differences between the colors used in digital and those used for plate printing. Also some types of bags like box bottom pouches require multiple sets of color plates.
Digital Colors


Pouches which will be digitally printed will be created using a White Cyan, Magenta, Yellow, and Black ink combination. This is often referred to as five color process (or many times mistakenly called four color process).
Pantone Colors


Pantone colors are commonly used by customers to increase overall color fidelity and consistency. Pantone colors applicable to flexible pouches will be from the Formula Guide Solid Coated, or Formula Guide Solid Uncoated. Pantones from other Formula Guides are typically not compatible with flexible bag printing.
Printed Pouch Finish
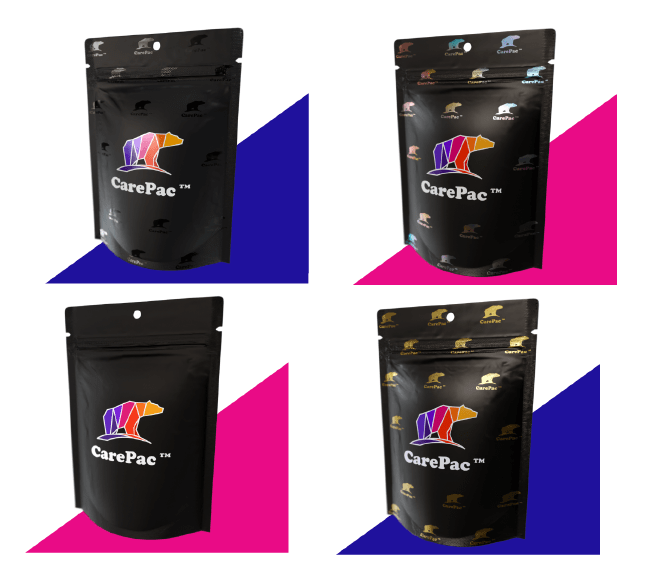

Your pouch finish, and the position of any Spot Finish will be indicated on your design files as a separate set of graphic bag schematics. It's important to check that the finish indicated is the finish that you wanted us to produce for your brand before you order.
Barcodes and QR Codes


Now is the perfect time to confirm that your Barcodes are correct, and have been placed on the correct designs. You don't want to later find out that the your vanilla flavor's barcode graphic is actually on the chocolate flavor bag. Scan your barcode or read your QR code on your screen to ensure it has the correct information encoded into it.
Trademarks


Now is also a perfect time to confirm that any trademarks you use on the bag are properly licensed before you put in the order so you don't get in trouble later.
Nutritional and Compliance
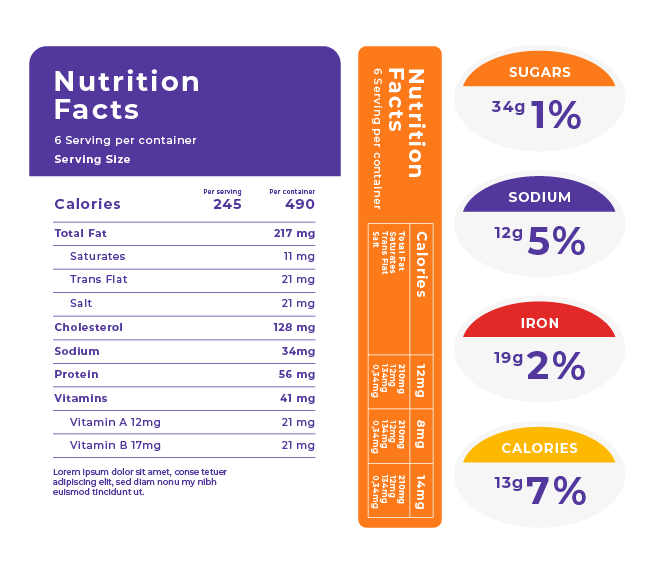

Nutritional information needs to be accurate, otherwise you're going to be relabeling the bags later with stickers which is time consuming and easily avoided. Those pesky compliance icons, symbols and consumer warnings should also be given a second look. Typically compliance warnings must be properly formatted and sized. Is your USDA icon the correct size? Is the font on your Surgeon general's warning the right size? These are important and can be costly mistakes if you don't double check.
Bag Features & Touch/Feel
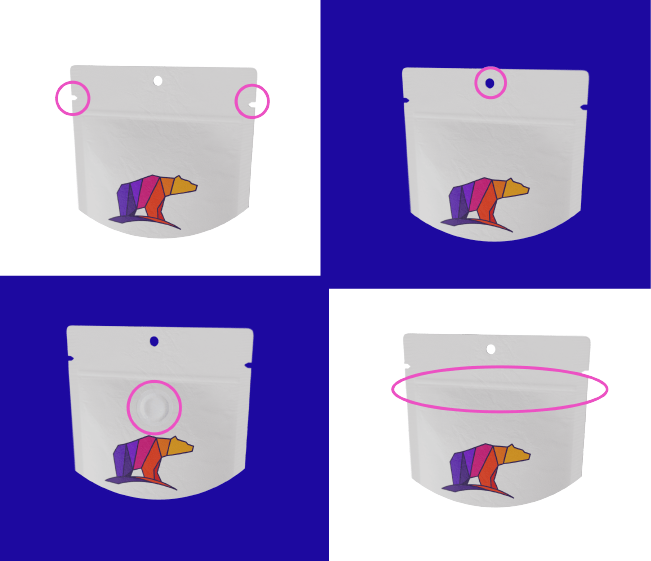

Getting back to the basics, the bag design schematic shows you the pouch that will be made, in a to scale rendering. The schematic also shows you all the features (i.e. zippers, tear notches, hang holes, valves spouts etc) that will be on the finished pouch, in addition to other aspects (matte, soft touch, etc.). If you don't see a feature on the bag it's not being made.
Dieline Review Checklist
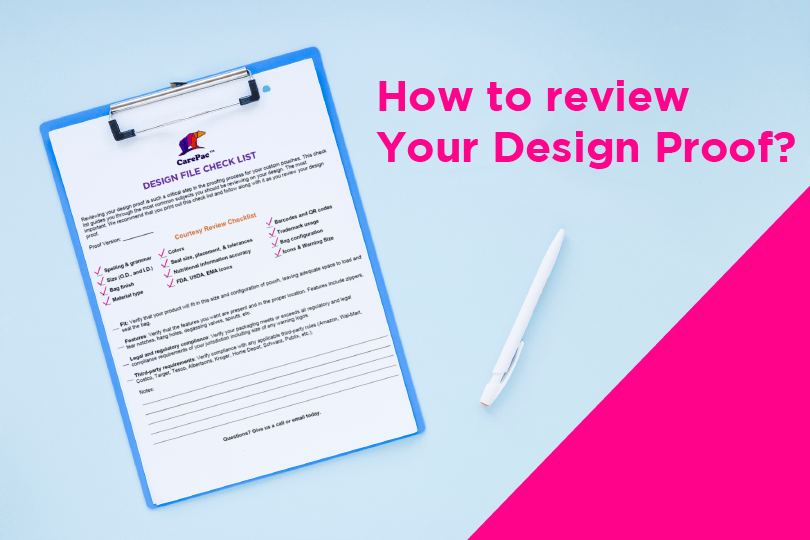
We hope this article has given you a nice overview of the dieline review process. We're including a dieline review checklist which we believe is the most complete check list available and is based on years of experience. Click here to download the design file review check list.
Tags


